Today I am discussing how to remove color cast from image using Adobe Photoshop CS5.
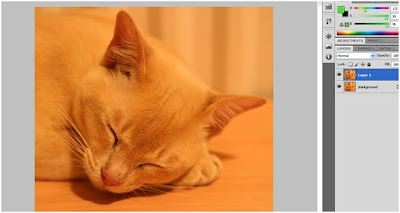
For demonstrating this I have taken the following image.

Step 1)
First open this image in Photoshop and Duplicate the background layer using (ctrl+j ) in windows and (cmd+j )in mac.

Step2)
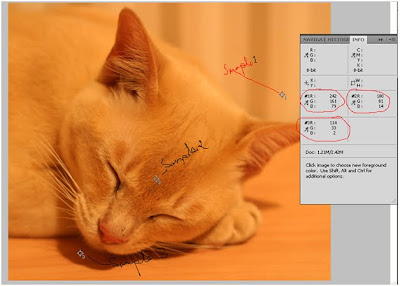
Using eyedropper tool with sample size of 5 by 5 average take 3 sample from highlight, midtones and shadow region respectively as shown in fig below. Hold down shift key and click the with eyedropper tool to get the sample and then open the info panel by pressing F8 function key.

Notice in info panel the three sample ‘s RGB value. At each sample point these value are not equal. To make color correct this image we will use curve adjacent layer.
Step 3)
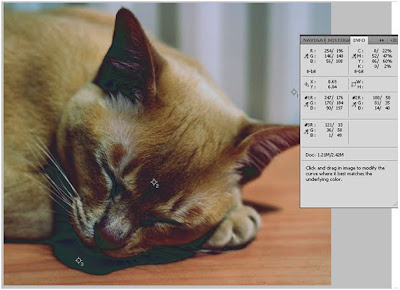
Add curve adjustment layer above the existing layer. With the curve adjustment try to make RGB value almost equal to all three point by adjusting Red, Green and Blue Channel curves respectively. Eventually you will find that the color cast from image has removed completely. After this your info panel will have almost like this.

Try this technique with other image and have fun.


